Pick a bold Disney palette, Mickey red, Donald blue, Goofy yellow, blend pastel pink or blue for a gender‑neutral base, then set up a Cinderella‑style ballroom entrance with a red‑carpet arch, faux marble columns, LED‑lit ribbons, and an Aladdin lantern pathway guiding guests to a central stage; create a Mickey‑and‑Friends photo booth using lightweight frames, vinyl backdrops, plush ears, and LED halos, design a Frozen ice‑blue dessert table on acrylic with tiered risers, sugar crystals, and blue LED strips, hang a Little‑Mermaid sea‑foam backdrop behind the stage using waterproof fabric and seaweed garlands, pop open a Winnie‑the‑Pooh honey‑jar reveal box with dry‑ice fog and colored smoke, program a Lion King sunset backdrop to shift hue at reveal time, serve Toy‑Story Buzz Lightyear rocket popsicles that change color as they melt, and finish with a Disney parade of swirling streamers and upbeat music, promising even more inspiration ahead.
Choose a Disney‑Themed Color Palette for Your Reveal
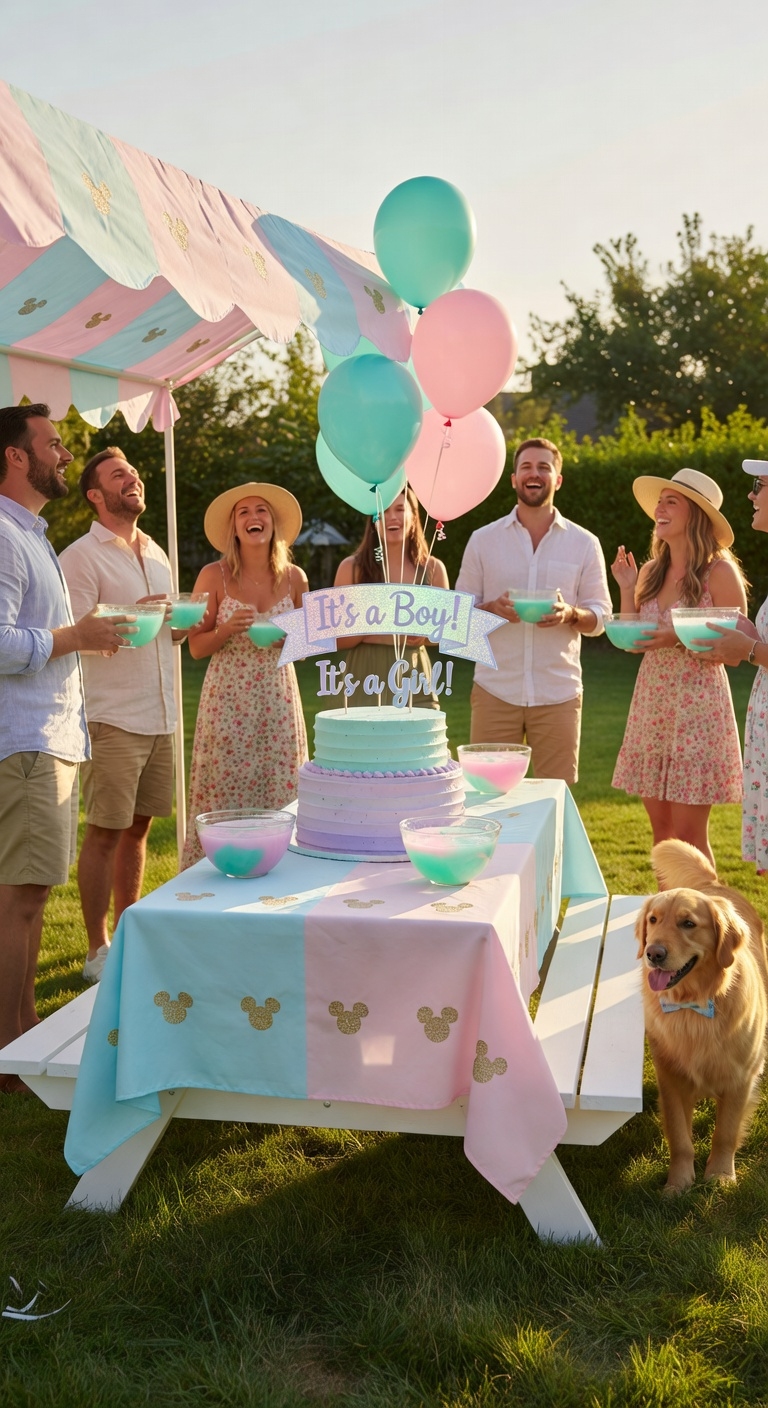

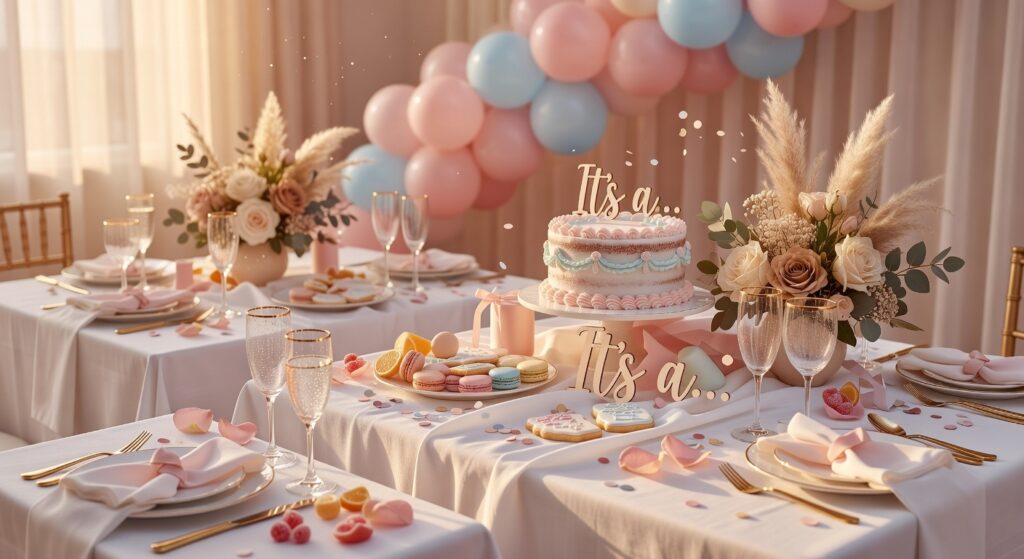
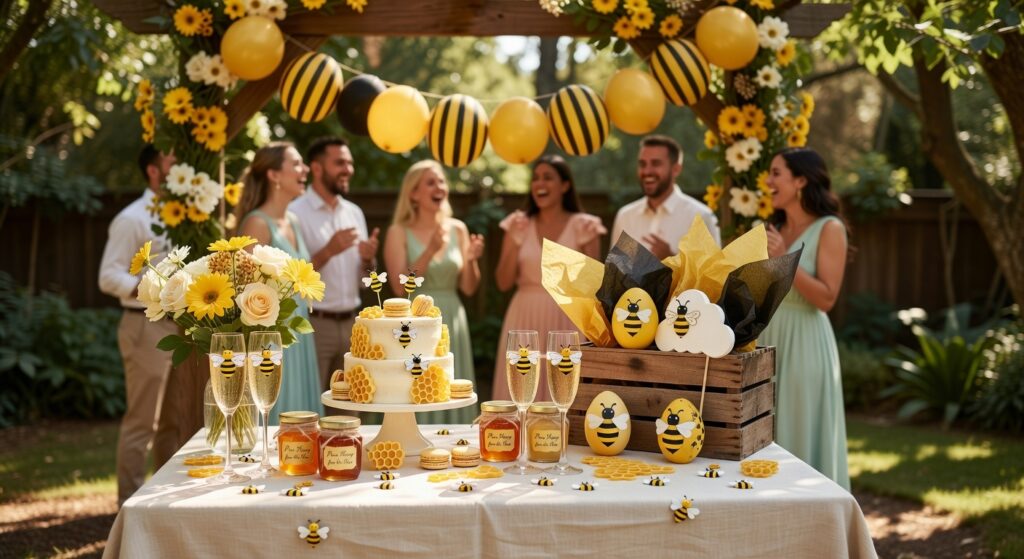
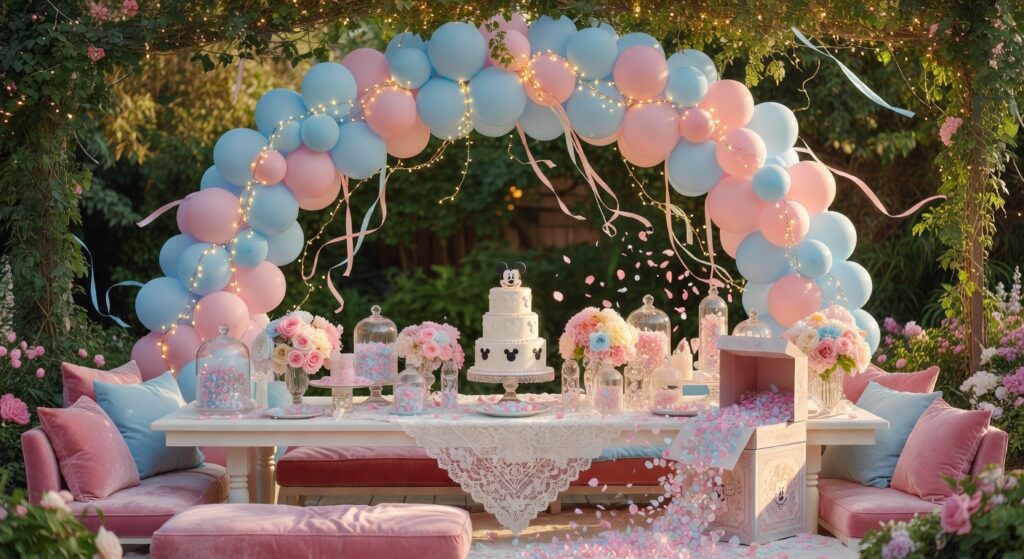
A Disney‑themed color palette starts with picking iconic hues like Mickey’s classic red, Donald’s bright blue, and Goofy’s sunny yellow, then blending them with soft pastel pinks or blues for a gender‑neutral base that feels both magical and cohesive, so gather swatches, digital color‑matching apps, and fabric samples before you settle on the final scheme. Use those colors to design character costume ideas, select safe, non‑flammable fabrics, and create themed photo backdrops with printed vinyl, ensuring every element remains secure, visually thrilling, and ready for memorable snapshots. Like bee-themed celebrations that incorporate black and yellow decorations for visual impact, you can layer your Disney color palette throughout all party elements to maintain consistency. Consider incorporating delicious gender reveal themed desserts and snacks that match your chosen color palette to create a fully immersive Disney experience for your guests.
Set Up a Cinderella‑Style Ballroom Entrance

When you roll out the red‑carpeted archway, start by framing the doorway with towering faux marble columns painted in soft ivory, then drape cascading silk ribbons in pastel pink and blue across the top, adding twinkling LED string lights tucked into the folds so the entrance glows like a magical ballroom. Secure fairy tale decorations using zip ties, test cords for heat, and ensure the enchanted entrance remains stable, with non‑slip mats and clear signage for safe guest flow. Consider using party theme styling throughout your venue to create a cohesive Disney-inspired atmosphere that extends beyond the entrance. To make your reveal truly memorable, incorporate creative announcement elements that will help your gender reveal party stand out completely from typical celebrations.
Build a Mickey‑And‑Friends Photo Booth With Props

Because the party’s theme revolves around Disney magic, you’ll want the photo booth to feel like a whimsical Mickey‑and‑Friends studio, so start by selecting a sturdy backdrop frame, preferably a lightweight aluminum truss or PVC pipe kit, then cover it with a high‑resolution printed vinyl of Mickey’s iconic silhouette, add a fringe of pastel pink and blue bunting along the top edge, and attach battery‑operated LED strip lights behind the backdrop to create a soft, glowing halo that enhances every snapshot. Choose a Mickey Steamboat prop, gather a Props Collection of plush ears, glittery signs, and themed frames, secure them with Velcro, test stability, and guide guests to pose safely, ensuring a thrilling, magical experience.
Design a Frozen Ice‑Blue Dessert Table

If you want the dessert table to feel like an enchanted Arctic oasis, start by draping a sleek, white acrylic tabletop with a sheer, ice‑blue chiffon runner that catches the light, then arrange a tiered stand of clear acrylic cake risers topped with frosted sugar crystals, sprinkle edible silver glitter across the surface, and line the edges with LED strip lights set to a cool blue hue; add Frozen décor like crystal snowflakes, place Ice blue accents on cupcakes, use non‑slip mats for safety, and provide a clear, step‑by‑step assembly guide for a thrilling, magical presentation.
Hang a Little‑Mermaid Sea‑Foam Backdrop Behind the Main Stage

After the icy‑blue dessert table dazzles guests, shift the focus to the main stage by hanging a Little‑Mermaid sea‑foam backdrop that instantly transforms the space into an underwater kingdom, using a lightweight, waterproof fabric printed with pastel teal waves and shimmering shells, securing it with a sturdy aluminum pole system and adjustable ratchet straps, then drape LED strip lights along the top edge to cast a soft, glowing ripple effect, and finish with a few strategically placed foam‑like cutouts and sea‑weed garlands that sway gently, creating a magical, thrilling atmosphere while keeping setup simple and safe. This Ariel theme under‑water adventure backdrop offers a secure, vibrant scene, so you feel confident, guests enjoy the enchanting reveal.
Launch Toy‑Story Balloons That Reveal Pink or Blue When They Pop

When you launch Toy‑Story balloons that burst into pink or blue confetti, you’ll create a thrilling, magical reveal that feels like Woody and Buzz just shouted “Surprise!” Choose biodegradable foil balloons, fill them with safe, non‑toxic confetti, attach a sturdy string, and time the pop with a coordinated cue, ensuring reveal timing aligns with the ceremony, while avoiding gender stereotypes by focusing on joy, safety, and inclusive excitement.
Place Pixar Character Centerpieces on Every Table

By arranging Pixar character centerpieces on every table, you instantly transform the venue into a whimsical, immersive wonderland that celebrates the upcoming arrival while keeping the atmosphere lively and inclusive, so start by selecting sturdy, lightweight bases, such as acrylic risers or decorative wooden crates, then attach miniature figurines of beloved characters like Woody, Buzz, or Dory using clear acrylic glue or magnetic mounts, and finish each piece with a themed garnish of pastel-colored flowers, glittery sand, or tiny LED lights that pulse softly, ensuring every table feels uniquely magical yet cohesive, while you keep a detailed materials list (figures, bases, adhesive, decorative accents, power source) and follow a step‑by‑step process: clean the base, position the figure, secure it, add embellishments, test the lighting, and repeat for each table, guaranteeing a consistent, thrilling reveal that dazzles guests and stays within budget.
Bake a Disney‑Castle Cake That Splits Into Pink or Blue Layers

If you want a Disney‑Castle cake that literally reveals the baby’s gender with a dramatic pink‑or‑blue split, start by gathering a sturdy 10‑inch round cake pan, two batches of vanilla sponge batter, food‑grade gel food coloring (pink and blue), a high‑quality buttercream frosting, and a silicone castle mold that fits the pan’s dimensions. Carefully bake each colored layer separately, let cool, then stack gently, ensuring the buttercream seals edges, creating a safe, magical reveal that celebrates cultural diversity while challenging gender stereotype expectations.
Hide the Secret Color in a Magic‑Mirror Reveal Box

After the castle cake’s dramatic split, you can keep the surprise hidden until guests gather around a magical‑mirror reveal box, which works like a sleek, two‑sided frame that conceals the pink or blue hue behind a reflective surface until the moment you lift the cover. Use a mirror illusion to project a secret message, place a sturdy cardboard frame, attach a reflective acrylic sheet, and secure a colored fabric panel behind it; when the cover lifts, the hidden color bursts forward, creating a thrilling, safe reveal.
Organize a “Finding Nemo” Scavenger Hunt With Color Clues

Even though the ocean backdrop feels like a living aquarium, you can turn your backyard into a “Finding Nemo” scavenger hunt by hiding color‑coded clues in seashell‑shaped containers, waterproof envelopes, and mini treasure chests, each marked with bright orange, teal, or coral stickers that correspond to Nemo’s friends. Dress guests in character costumes, serve themed cupcake toppers, and guide participants safely with clear maps, non‑slip mats, and waterproof markers, ensuring a thrilling yet secure adventure.
Light the Night With an Aladdin‑Style Lantern Display

When twilight settles over your yard, you can transform it into a magical Arabian night by arranging an Aladdin‑style lantern display that glows with warm amber, deep indigo, and shimmering gold, using sturdy metal or bamboo frames, battery‑powered LED fairy lights, and translucent rice‑paper or glass panels that diffuse light softly while you attach each lantern to sturdy stakes or hanging ropes, then position them in sweeping arcs and clusters to create a thrilling, immersive pathway that guides guests toward the celebration’s centerpiece, all while ensuring safety with weather‑proof cords and secure mounts. Follow step‑by‑step instructions, secure Lantern lighting with zip ties, test Night illumination before dark, and enjoy a safe, enchanting vibe.
Warm Up Guests With a Disney Trivia Game Before the Reveal

Before the reveal, kick off the celebration by hosting a Disney trivia game that gets guests laughing, competing, and feeling the magical anticipation, because a lively quiz not only warms up the crowd but also sets a thrilling tone for the upcoming surprise. Provide printable question cards, assign teams wearing Disney character costumes, hand out themed party favors, and use a microphone to keep instructions clear, safe, and engaging throughout.
Fire a Disney‑Themed Confetti Cannon for the Grand Moment
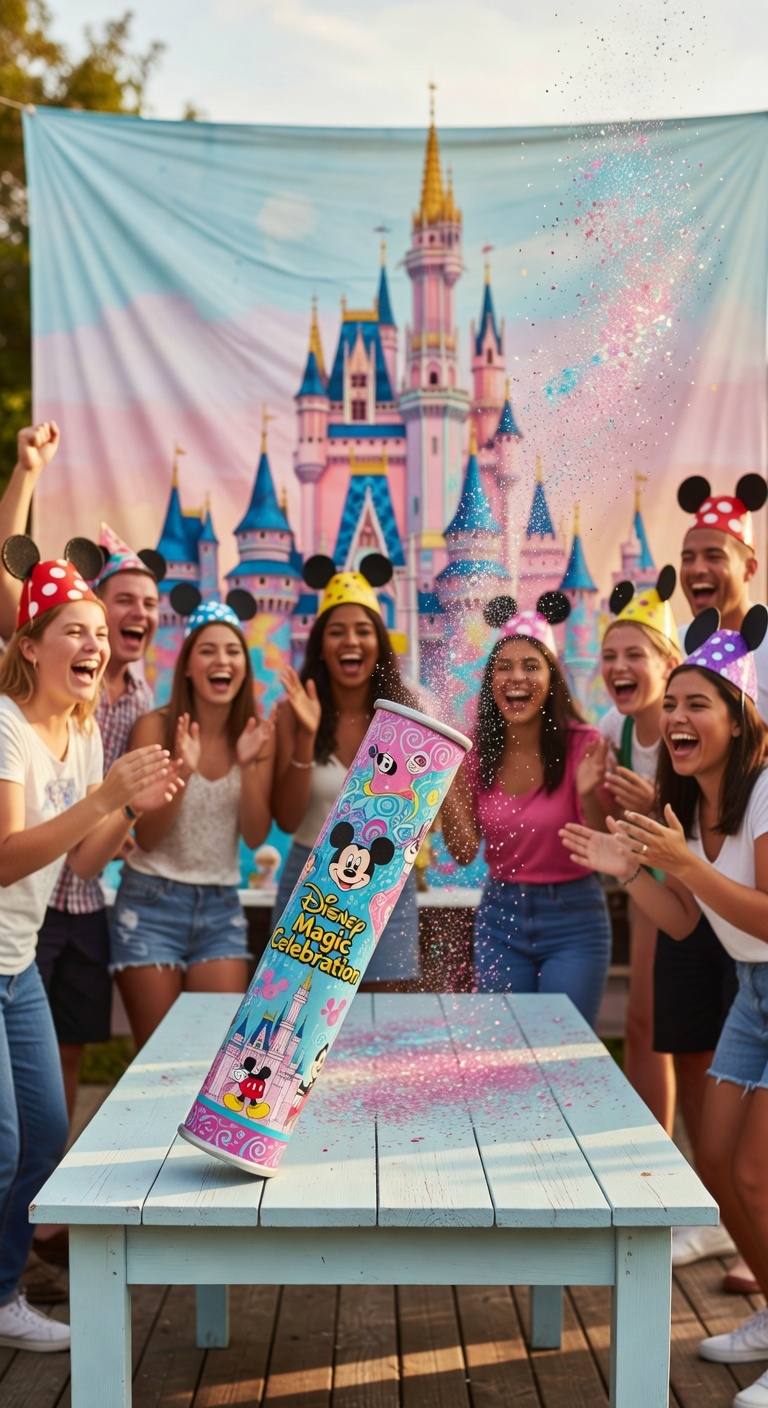
If you want the grand reveal to sparkle like a Disney fireworks finale, fire a themed confetti cannon at the exact moment the baby’s gender is announced, because the burst of glittering, pastel‑colored paper will instantly transform the venue into a magical, cinematic stage. Follow safety‑first steps: secure the cannon, test clear, use low‑pressure cartridges, coordinate with Disney themed party games, honor Confetti cannon traditions, and display instructions‑clear signage, ensuring everyone enjoys a thrilling, yet responsible, celebration.
Lay a Beauty‑and‑the‑Beast Rose‑Petal Path to the Reveal Spot

Lay a Beauty‑and‑the‑Beast‑petal path toward the reveal spot by gathering fresh rose petals, biodegradable confetti, and scented candlelight, then arranging them in a sweeping curve that guides guests from the entrance to the centerpiece, because the fragrant, blush‑colored trail will instantly evoke Belle’s garden, create a magical, immersive atmosphere, and set the stage for a thrilling gender reveal, all while keeping the layout safe, durable, and easy to clean up after the celebration. Follow Enchanted invitations, match Fairy tale fashion colors, use non‑slip mats under petals, secure candles in glass holders, and replace used petals with compostable bags to ensure safety and sparkle.
Hand Out Mulan‑Style Warrior Favors That Reveal the Gender When Unwrapped

When you hand out Mulan‑style warrior favors, you’ll create a thrilling reveal moment that feels both magical and purposeful, because each wrapped token, crafted from sturdy cardstock, silk ribbons, and miniature paper swords, contains a hidden pink or blue scroll that bursts into view once the recipient peels away the decorative seal. Pair them with creative costume ideas, using personalized party favors like embroidered armor patches, safe non‑toxic inks, and clear instructions for guests to unwrap safely, ensuring a joyous, memorable gender reveal.
Project a Star‑Wars Galactic Light Show That Shows the Secret Color on the Ceiling

By syncing a programmable LED strip with a mini‑projector, you can turn your ceiling into a Star‑Wars‑inspired galaxy that flashes the secret pink or blue at the perfect moment, creating a thrilling, magical reveal that feels both futuristic and personal. Choose sturdy, low‑heat LEDs, secure them with zip ties, project gentle nebulae, and hide the color‑swap trigger behind a safe, battery‑operated switch, while adding Star Wars costume ideas and Galactic themed decorations for cohesive ambience.
Roll Out a Moana Ocean‑Wave Entrance With a Hidden Color Swirl

Even if you’ve never staged a beach‑side ceremony, you can create a Moana‑themed ocean‑wave entrance that hides a pink‑or‑blue swirl behind rolling foam, because installing a flexible LED strip along a curved acrylic wave panel, syncing it to a hidden Bluetooth‑controlled color‑change module, and adding a mist‑spray fan to simulate surf will instantly transform your entryway into a magical, thrilling reveal. Use waterproof underwater lighting, secure the LED with zip ties, and position the fan behind a safety‑rated acrylic barrier; test all connections, then cue the color change as guests arrive, ensuring the Ocean inspired decor remains safe, dazzling, and unforgettable.
Hang a Peter‑Pan Never‑Growing‑Green (or Pink) Garland Across the Ceiling

If you want a whimsical, Never‑Growing‑Green (or pink) garland that drapes the ceiling like Peter Pan’s enchanted vines, start by measuring the span, cutting lightweight foam‑core strips to 2‑foot lengths, then wrapping each strip with biodegradable twine painted in your chosen hue, securing the twine with hot‑glue guns, and attaching tiny LED fairy lights that run on a battery‑pack hidden in a decorative lantern, finally anchoring the garland to ceiling hooks using clear fishing line so the sparkle appears suspended, while you test the color‑changing remote before the guests arrive to guarantee a magical, thrilling reveal. Dress guests in fairy tale costumes, play enchanted music, and keep cords insulated, ensuring safety and delight.
Serve Ratatouille‑Inspired Mini‑Dishes With Color‑Coded Garnishes

When you set up the Ratatouille‑inspired mini‑dishes, start by arranging bite‑size vegetable towers, think zucchini, eggplant, and bell‑pepper rounds, on a slate platter, then drizzle each tower with a thin layer of herb‑infused olive oil, sprinkle a dash of sea salt, and finish with a color‑coded garnish such as micro‑basil for green, edible violet petals for purple, and bright orange carrot curls for orange, ensuring the hues match the gender theme while the flavors stay magical and thrilling. Use fresh, pre‑washed produce, a sharp mandoline, safe non‑toxic food‑grade dyes, and a chilled serving board; the gourmet presentation showcases flavor fusion, while the safe handling steps keep guests confident and delighted.
Pop Open a Winnie‑the‑Pooh Honey‑Jar Reveal Box With Colored Smoke

You’ll start by gathering a clear honey‑jar box, preferably a sturdy, transparent acrylic container with a fitted lid, alongside a small dry‑ice fog machine, food‑grade liquid smoke, and two bottles of non‑toxic, color‑coded vapor dye (pink for girl, blue for boy). Then, place the dye inside the jar, seal it, and activate the dry‑ice fog and liquid smoke, which will produce magical colored smoke that bursts when you pop the lid, delivering a thrilling honey‑jar reveal that’s safe, spectacular, and unforgettable.
Reveal a The‑Lion‑King Sunset Backdrop That Shifts Hue at Reveal Time

By syncing a programmable LED strip to a hidden microcontroller, you can turn a classic The‑Lion‑King sunset backdrop into a dynamic stage that shifts from warm amber to cool teal the instant the reveal cue sounds, creating a magical, thrilling atmosphere that feels both cinematic and personal. Secure the strip with zip ties, program color shifting backdrop to trigger on a Bluetooth signal, and test safety with a fire‑retardant backdrop, ensuring a vibrant Sunset ambiance without hazards.
Offer Toy‑Story Buzz Lightyear Rocket Popsicles That Change Color When Melted
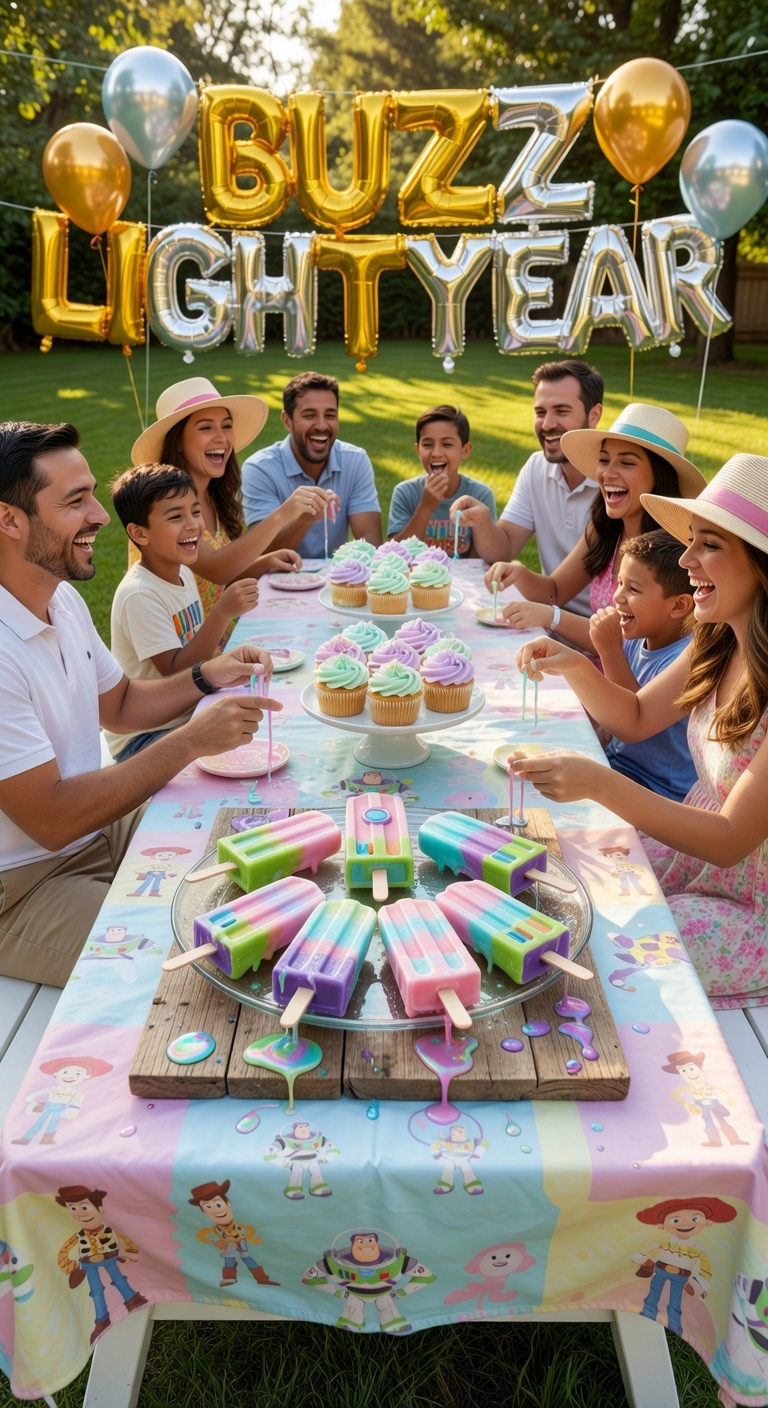
Ever imagined serving a Buzz Lightyear‑themed popsicle that transforms from vibrant orange to cosmic blue as it melts, dazzling guests while celebrating a Disney‑style gender reveal? You’ll need safe, food‑grade color‑changing popsicle molds, natural pH‑sensitive dyes, and a Toy Story surprise recipe that mixes orange juice, blueberry puree, and gelatin; freeze in rocket shapes, then let the melt reveal the secret hue, ensuring clean‑up, child‑friendly handling, and a thrilling, magical reveal.
End With a Disney Parade Finale of Swirling Streamers and Music

When the final notes of your Disney‑themed playlist swell, cue the parade finale by arranging vibrant, biodegradable streamers on a motorized rotating pole, attaching lightweight, glitter‑covered ribbons that flutter in sync with the music, and positioning a compact speaker system to broadcast a curated mix of classic Disney marches and upbeat pop remixes; you’ll guide guests in fairy tale costumes to dance beneath enchanted music, secure the pole base with sandbags, use non‑flammable ribbons, and test audio levels early, ensuring a thrilling, magical, and safe celebration.
Final Takeaways
Now you’ve got a magical, thrilling Disney‑themed gender reveal that feels like stepping into a storybook, with vibrant color palettes, Cinderella‑style entrances, and a Little‑Mermaid sea‑foam backdrop that transforms the atmosphere. Follow the step‑by‑step guide, gather the listed materials, colored smoke can, hue‑shifting LED panels, Buzz Lightyear rocket popsicles, and execute each element with confidence, ensuring the final parade of streamers and music delivers a spectacular, unforgettable climax for every guest.

- 20 Rustic Engagement Party Ideas for Any Style in 2026 - June 28, 2026
- 25 Outfit Ideas for Engagement Party Guest to Bookmark in 2026 - June 28, 2026
- 24 Outdoor Engagement Party Ideas That Pop in 2026 - June 27, 2026